Brief Summary
This course is your ticket to building an awesome smart mirror using Raspberry Pi! You'll learn coding (HTML, CSS, JavaScript) while having a blast creating a display with a clock, news, and weather updates.
Key Points
-
Learn HTML, CSS, and JavaScript basics
-
Create a smart mirror display using Raspberry Pi
-
Understand how to host a web page on Apache server
Learning Outcomes
-
Set up your own smart mirror powered by Raspberry Pi
-
Write and customize HTML and CSS for a cool web page
-
Program a digital clock using JavaScript and integrate RSS feeds
About This Course
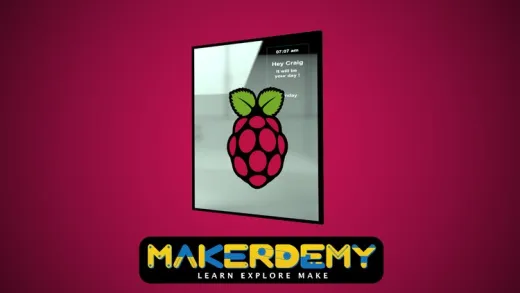
Learn how to build, design, and customize your very own Raspberry Pi powered smart mirror!
This course is meant as a active learning/DIY project to learn the basics of scripting languages, while working on something fun.
This course will focus upon teaching you to setup and build your own smart mirror display. This involves creating and coding a custom web page and hosting it on a Raspberry Pi using the Apache HTTP server application.
To learn how to build your own magic mirror, we will first focus on writing a base HTML script for the website, and adding basic elements - a clock, a periodically updating news feed, and a periodically updating weather feed, to it. Once this is done, we will create a cascading style sheet (CSS) doc and customize our web page to give us the required display for a smart mirror.
This course involves the use of basic concepts from multiple programming languages. We will be using JavaScript to program the clock display. We will also be using PHP for the two RSS feeds - news and weather. Finally, we will put all this together in our HTML script and edit the presentation of our HTML document using a CSS file to make the display visible through a partially mirrored surface.
Setup their very own Raspberry Pi powered smart mirror
Write basic HTML and CSS code for a smart mirror web page hosted on an Apache 2 HTTP server
Write JavaScript code to create a digital clock element for aforementioned web page


Manojit D.
how did you start the pi@respberrypi platform, in your presentation you have shown directly with the command starts at pi@raspberrypi: